
How to Change Images in WordPress the Right Way
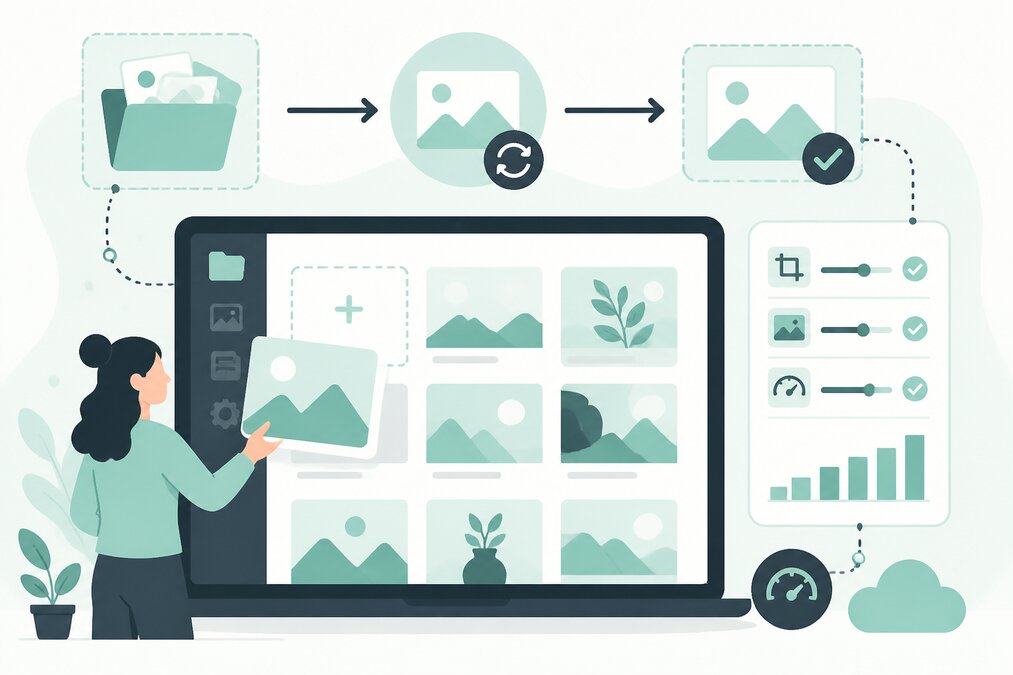
Changing an image on a WordPress website sounds simple, but doing it incorrectly can create broken links, unnecessary files, or poor performance.
A proper image replacement process helps keep the website clean and fast.
Find Where the Image Is Used
Before replacing an image, identify where it appears.
It may be used in:
- Page content
- Blog posts
- Featured images
- Theme settings
- Widgets
- Headers
- Backgrounds
- Custom sections
Check the Image Size
Do not replace a small image with an unnecessarily large file.
Prepare an appropriately sized image before uploading it.
Optimize the New Image
Compress the image before uploading.
Avoid extremely large files.
A smaller image can reduce page size and improve loading performance.
Use a Descriptive Filename
Use a meaningful filename.
For example:
hosting-control-panel.jpg
is easier to understand than:
IMG000123.jpg
Upload the New Image
Upload the optimized image through the appropriate WordPress media interface or website management method.
Update the Correct Page
After uploading, replace the old image wherever it is used.
Check both desktop and mobile layouts.
Check the Image URL
If the old image URL is used elsewhere, deleting it immediately may create broken references.
Be careful when removing old media files.
Avoid Unnecessary Duplicate Images
Uploading the same image many times with different filenames can increase media storage.
Keep the media library organized.
Check Image Dimensions
Large dimensions can increase file size.
Use dimensions suitable for the location where the image will be displayed.
Add Useful Alt Text
Alt text should describe the image where appropriate.
Do not fill alt text with unnecessary keywords.
Check WordPress Image Sizes
WordPress may generate multiple image sizes when media is uploaded.
This is normal.
However, a website with thousands of unnecessary images can accumulate significant storage.
Replace Featured Images Carefully
If you replace a featured image, check:
- Blog listing
- Homepage
- Social previews
- Related posts
- Mobile layout
Check Cache
If the old image still appears after replacement, caching may be involved.
Clear the relevant cache and test again.
Check CDN Cache
If the website uses a CDN, the old image may remain cached.
The appropriate cache should be refreshed when required.
Do Not Change Image URLs Without Reason
Changing URLs can create broken references.
If an image URL must change, check where the old URL is used.
Keep a Backup
Before making large media changes, maintain a current website backup.
Final Thoughts
Changing images correctly involves more than uploading a new file.
Optimize the image, update the correct locations, check caching, maintain useful alt text, and avoid unnecessary media duplication.
THE HOSTGURU customers can improve website performance by keeping WordPress media properly optimized and organized.
Frequently Asked Questions
Usually no. Resize images to dimensions suitable for the website.
Not always. First make sure it is no longer being used.
Browser, website, or CDN caching may still contain the previous image.
It can affect image search and page performance, especially if filenames, alt text, dimensions, or URLs are changed incorrectly.
